Jak zmierzyć rozmiar pierścionka

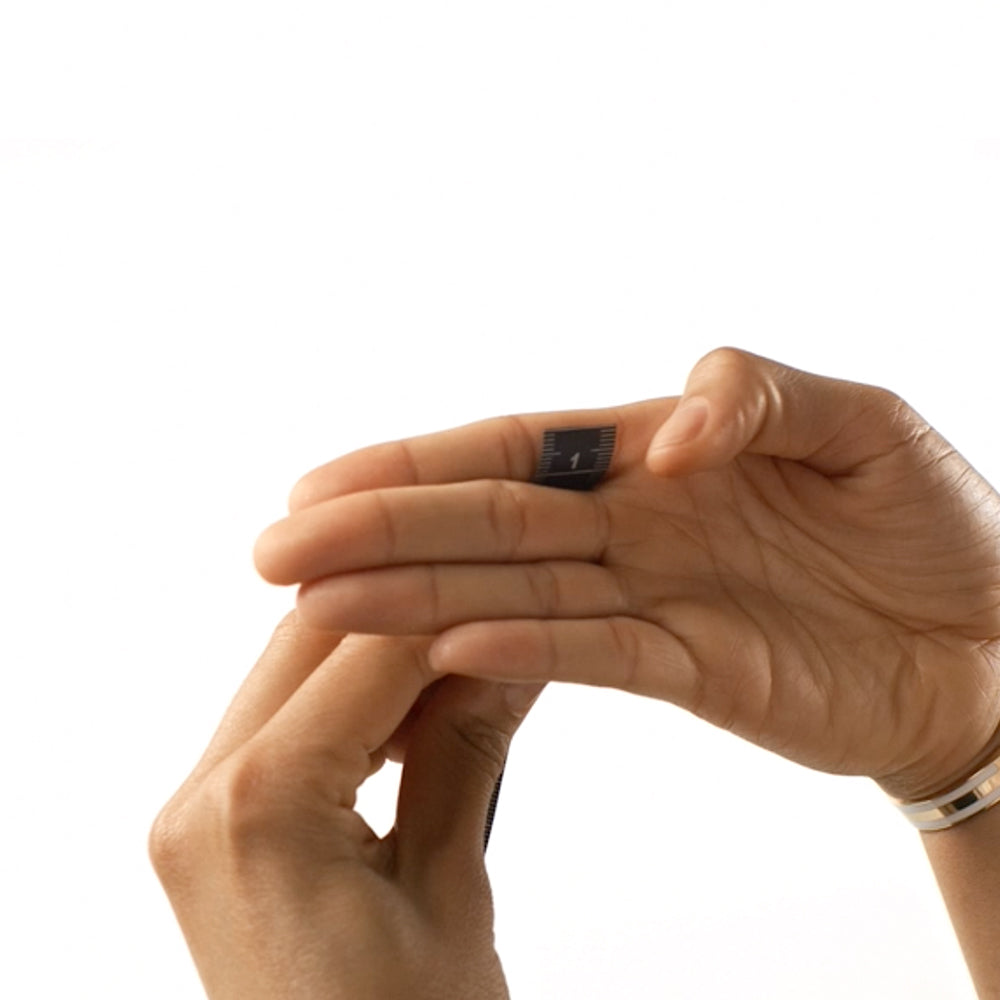
Najlepszym i najdokładniejszym sposobem na pomiar rozmiaru pierścionka jest metoda miarki krawieckiej. Pamiętaj, aby uwzględnić szerokość stawu. Ponieważ rozmiar palca może się zmieniać w ciągu dnia w zależności od różnych czynników (np. temperatury lub wilgotności), zalecamy dokonywanie pomiaru wieczorem, kiedy Twoje palce są najszersze. Palce lewej i prawej dłoni mogą się różnić, dlatego upewnij się, że dokonujesz pomiaru na tej dłoni, na której zamierzasz nosić pierścionek.

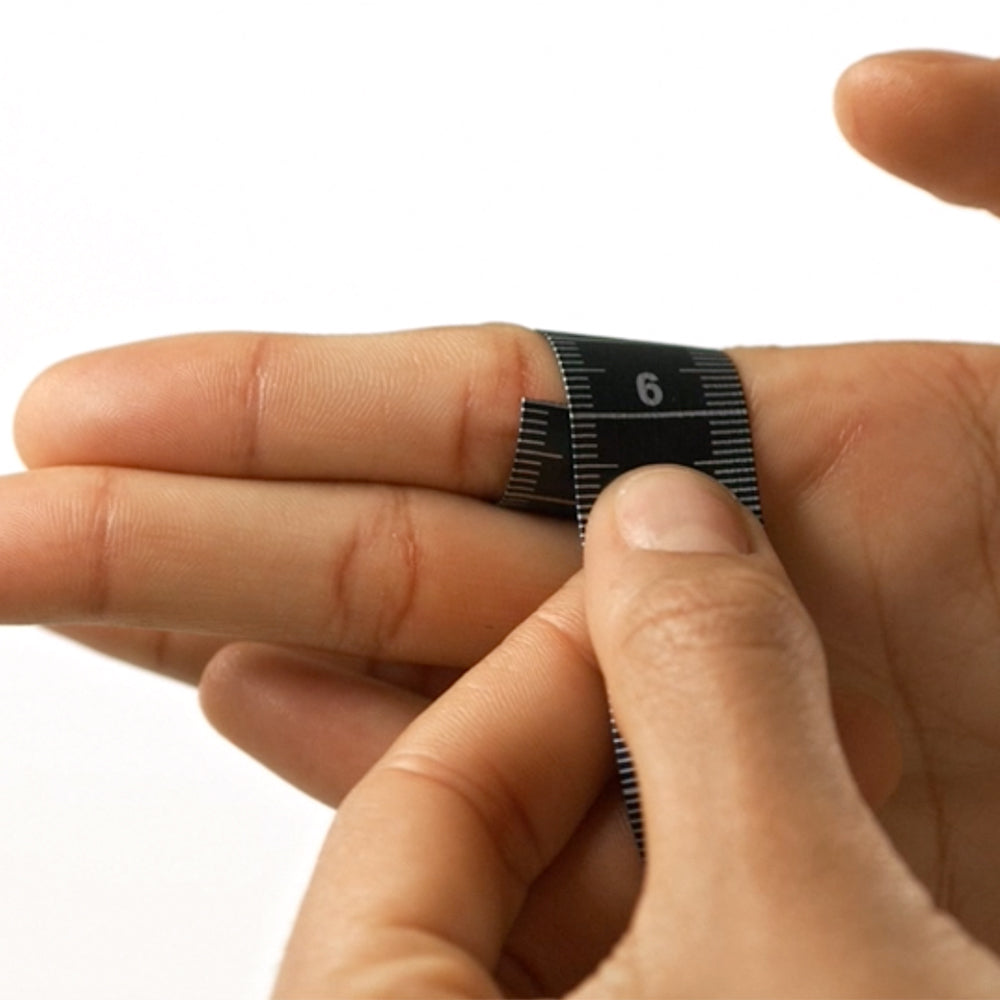
1. To measure your finger, gently wrap the measuring tape around the base of your finger. Ensure it’s snug but not too tight, allowing for a comfortable fit without squeezing. If you’re using a piece of string or a strip of paper instead, mark the point where the end meets the rest of the material. Your ring needs to fit over your knuckle, which is often the widest part of your finger. Therefore, to ensure a comfortable fit, measure both the base of your finger and around your knuckle. If your knuckle is significantly larger than the base of your finger, consider using the average of these two measurements. This way, your ring will fit comfortably over the knuckle but not be too loose at the base.

2. Next, record the measurement. If you are using a measuring tape, directly read the measurement from the tape at the point where it overlaps. If you are using a string or paper, lay the marked string or paper flat on a surface and measure its length with a ruler. Ensure the ruler is placed straight and the string or paper is not stretched, as this could lead to inaccurate measurements.

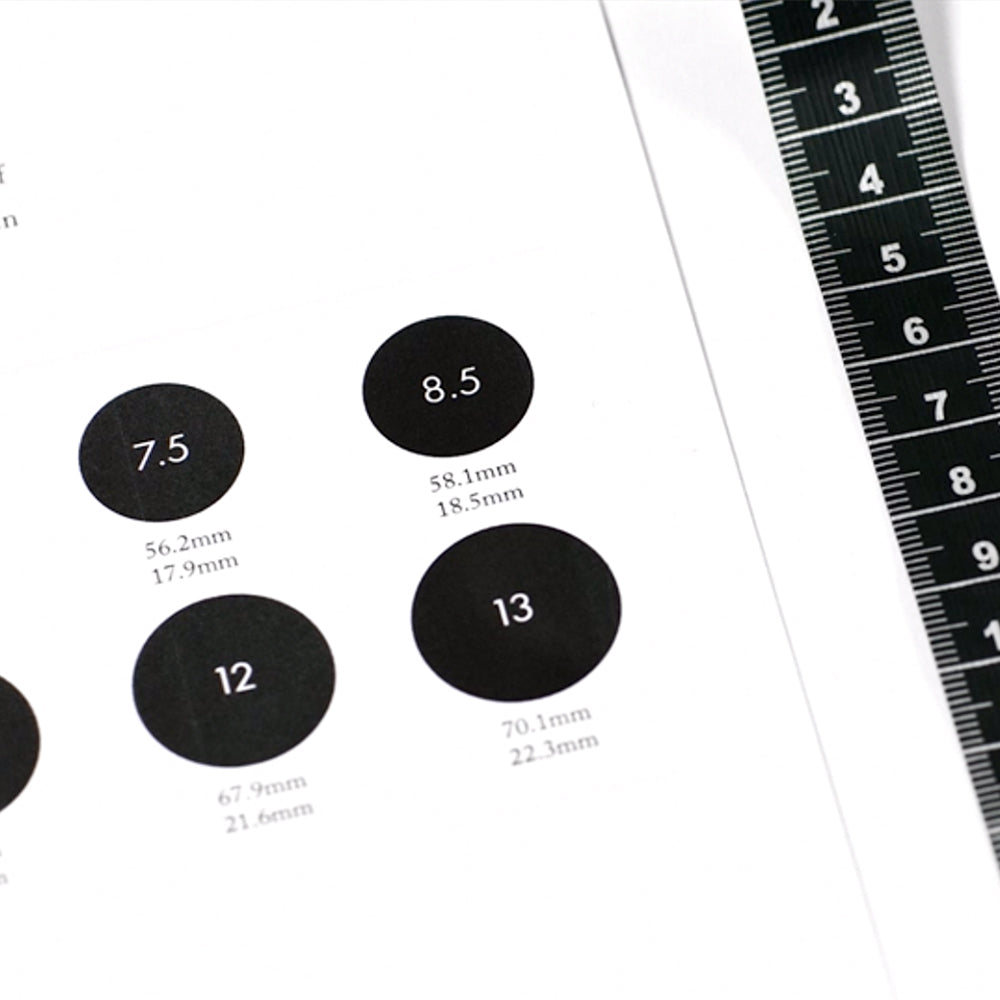
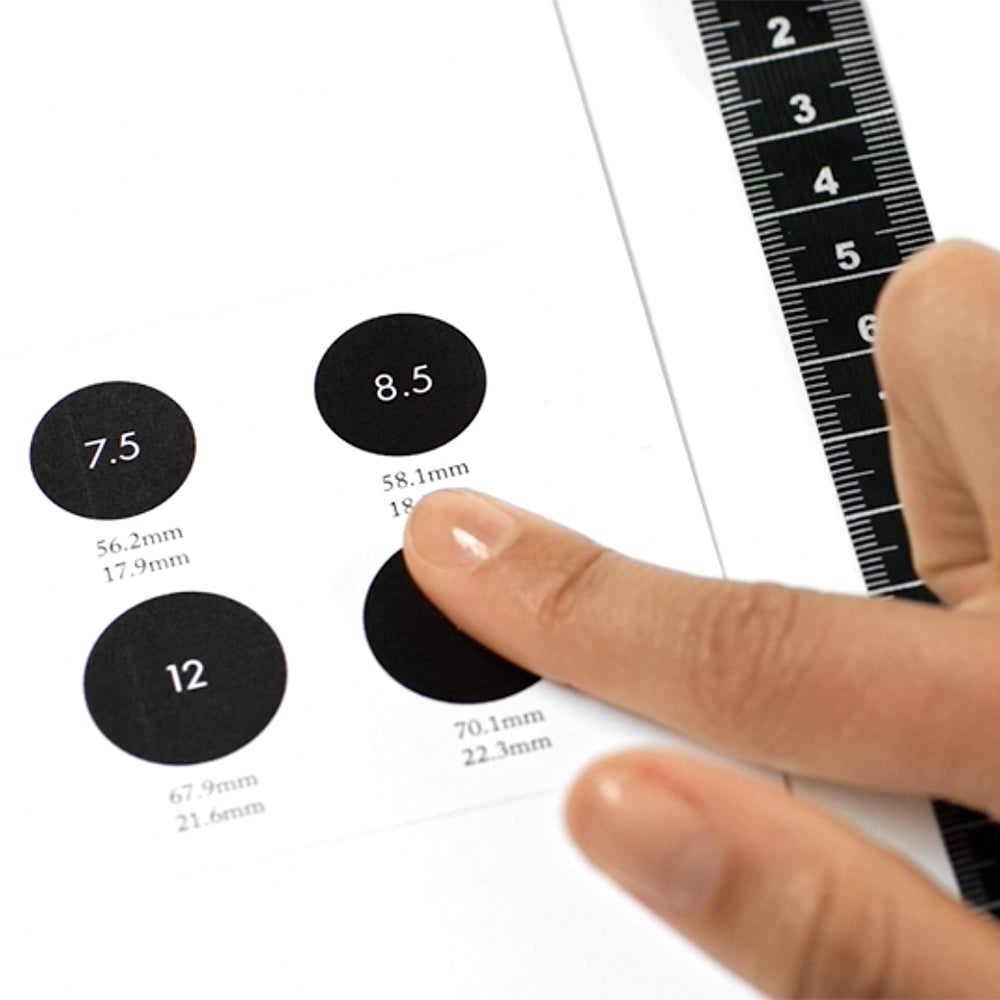
3. Then, use a ring size chart to convert your measurement to the corresponding ring size. Ring size charts are easily available online and typically include sizes for different regions, such as the US, UK, and Europe. Be sure to select the correct chart for your region to avoid any discrepancies. The chart will match your measurement to a specific ring size, making it easy to find the right fit.

4. It's important to consider the dominant hand factor when measuring your ring size. The same finger on your left and right hands may differ slightly in size. Typically, the dominant hand—the one you use more frequently—might be slightly larger due to increased muscle development and usage. Therefore, measure the specific finger on the hand you plan to wear the ring. This ensures a more accurate fit, as even minor differences can affect the comfort and security of the ring.

1. Measure with printed PDF

2. Measure with PDF on Mobile

3. Measure with cut-out-ruler

If you don't have a ring size chart or
measuring tape, you can still measure your ring size accurately with just a
ruler. Here's how: Take a flexible, non-stretchy string or strip of paper, wrap
it around the base of your finger, and mark where it overlaps. Lay it flat and
measure the length in millimeters. Use an online ring size chart to find your
size, accounting for regional differences. For wider bands, consider going up
half a size for comfort. Repeat this process at different times of the day for
the best fit. For a step-by-step visual guide, check out our YouTube video
guide.

4. Measure with measuring tape

To ensure accurate ring size measurement with
a string, make sure it fits comfortably around your finger—neither too tight
nor too loose. A tight string may lead to an overly snug ring, while a loose
one might cause the ring to slip off. After marking and measuring the string,
compare your measurement with multiple ring size charts for consistency. For
better precision, use a minimally stretchy material like embroidery floss.
Double-check your measurements at different times of the day to account for finger
size fluctuations. For a step-by-step guide, check out our YouTube video
tutorial.

Wybór pierścionka to wyjątkowy moment – bez względu na to, czy kupujesz go dla siebie, czy na prezent dla bliskiej osoby. Idealny rozmiar to nie tylko wygoda noszenia, ale też pewność, że pierścionek nie zgubi się ani nie będzie uciskał palca. Zobacz, jak szybko i skutecznie zmierzyć rozmiar palca w domu lub u jubilera.

Dlaczego warto prawidłowo dobrać rozmiar pierścionka?

  • Komfort: pierścionek nie powinien uciskać, ale też nie może spadać z palca.

  • Wygląd: idealnie dobrany rozmiar prezentuje się elegancko i proporcjonalnie.

  • Bezpieczeństwo: unikniesz ryzyka zgubienia lub zniszczenia biżuterii.

  • Swoboda ruchu: dobrze dopasowany pierścionek łatwo się zakłada i zdejmuje, także przez staw palca.

Najdokładniejsza metoda: Miarka krawiecka

To najczęściej polecany sposób, zarówno przez jubilerów, jak i producentów biżuterii.

Jak dokonać pomiaru miarką – krok po kroku:

  1. Owiń miękką miarkę krawiecką wokół podstawy palca (tam, gdzie będzie noszony pierścionek).

  2. Miarka powinna przylegać do skóry, ale nie uciskać. Pamiętaj: pierścionek musi przejść przez staw palca!

  3. Zmierz również obwód stawu – jeśli jest dużo szerszy niż podstawa, uśrednij te dwa pomiary.

  4. Odczytaj wynik (w milimetrach) w miejscu, gdzie miarka się styka.

  5. Sprawdź w tabeli rozmiarów polskich, jaki numer odpowiada Twojemu pomiarowi.

Pomiar domowy – alternatywne sposoby

Metoda 1: Sznurek lub pasek papieru

  • Owiń nieelastyczny sznurek lub cienki pasek papieru wokół podstawy palca.

  • Zaznacz punkt styku długopisem.

  • Zmierz długość rozprostowanego sznurka linijką (w mm).

  • Sprawdź wynik w tabeli rozmiarów.